Fill out our form, and we'll connect with you within 1 to 2 business days.
Phone: (925) 989-7737

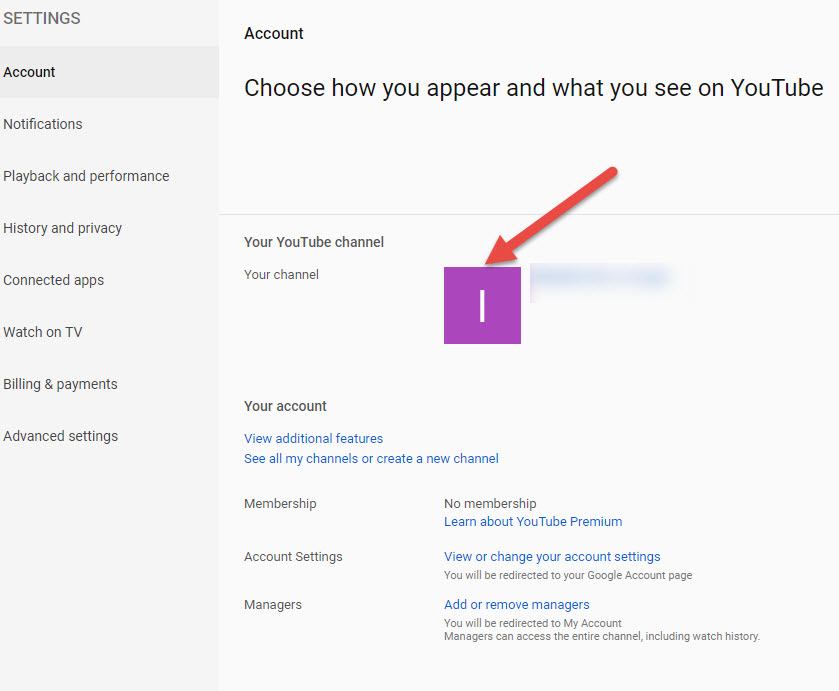
Now you have your channel created, but there is still a lot that can be done. Go to your Youtube Channel’s brand account settings and click on your icon. The icon won’t have a picture yet, so it usually has a corresponding first letter for your brand name.
Next, just click on the customize channel button on the top right corner of your channel’s page.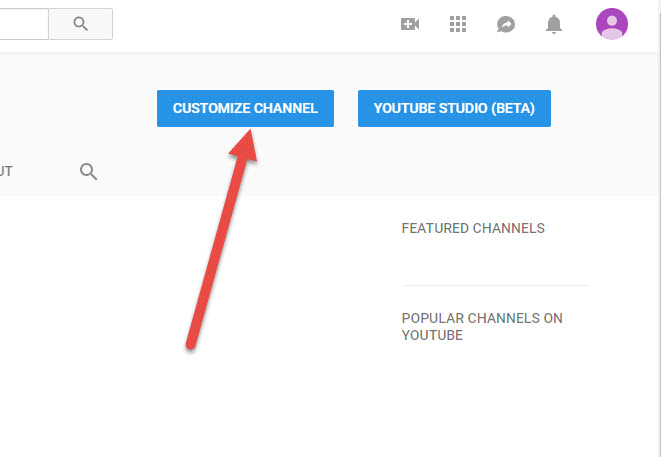
Now, you will be inside your channel settings. From here we can add a new profile picture, as well as channel art. If you have used social media platforms like Facebook before, then you might be familiar with the channel art. The channel art goes on the top of your page. It’s important that it looks professional and eye-catching, as it will be the first thing people will see when they enter your channel page. Let’s change the profile picture first. Go over the profile picture icon and when hovering over this area, you will see an icon with a pencil. Click on that icon to change your profile picture. 
From there, it’s simple enough to just upload a select and upload a picture from your computer. You can find the directory, or if you have the picture handy you can drag and drop your photo in the box.
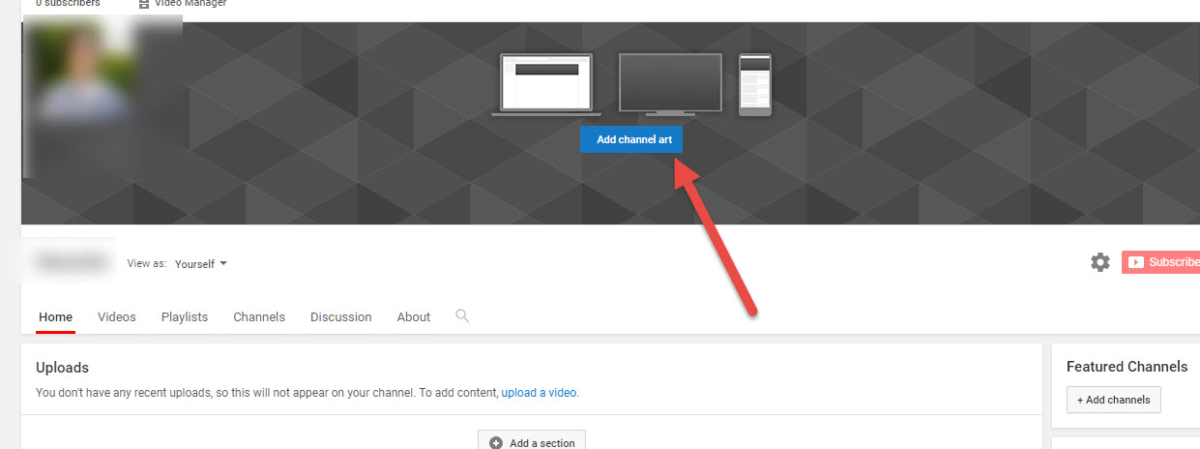
Now, let’s move on to the channel art! It basically works the same way as uploading your profile picture. Go back to your Youtube channel settings and you will see a button you can click to add your channel art. Go ahead and click on that to add your channel art.
You will see that you can drag and drop a photo in the same way as before with your profile picture. Notice in the corner of the box, it will say:
If you have more questions about how to choose or resize your channel art, you can feel free to click on the “How to create channel art” button on the bottom left corner. This will give guidelines on how the image will look on different devices. You can also crop and resize your channel art for the different platforms.
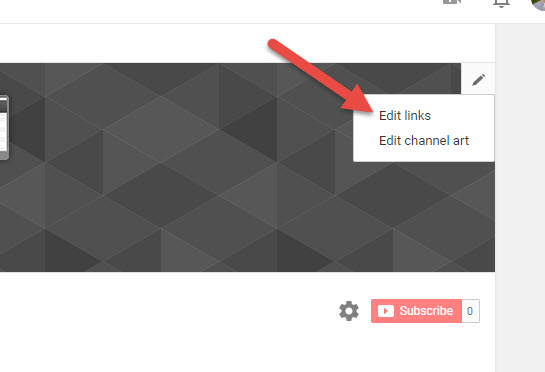
Now we can look at how to add social media links to the bottom right of your channel art. Go back to your channel settings. At the corner of the channel art, you will see another “edit” button in the form of a pencil. Go ahead and click that button. Next, click the “Edit links” button to add links. Alternatively, you can click on the “About” section under your brand name. If it isn’t showing up, you need to make sure you click “customize channel” before doing so.
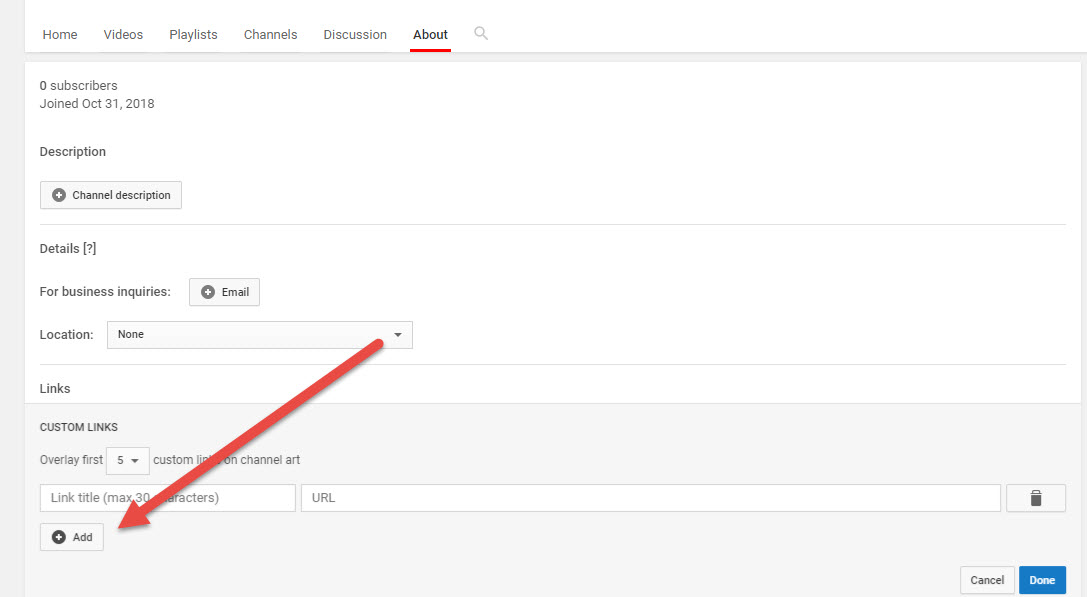
From here, you are allowed to link to five different social media outlets. You can add the link title, as well as the URL link that will take you to the correct page. From this page, you can even add a channel description, an email for business inquiries, as well as the location of your business.
Now that you have your YouTube Channel set up and looking pretty, you can make content! For ideas on what to post, focus on something that best represents your business. For example, if you are a painting company, you could create a video that shows a before and after painting job, complete with some time-lapse photography. If you are an attorney, you might want to get a group of video testimonials from your clients. There’s really no wrong answer, and the sky is the limit. Have fun with the process! I hope you enjoyed and learned something from reading this blog, and 360 Web Designs are always here to help. If you need help with setting up a website, we can work with you in creating a beautiful website that is modern and mobile friendly. We also assist in SEO implementation, Web-blogging, Google Analytics, and more!