Fill out our form, and we'll connect with you within 1 to 2 business days.
Phone: (925) 989-7737


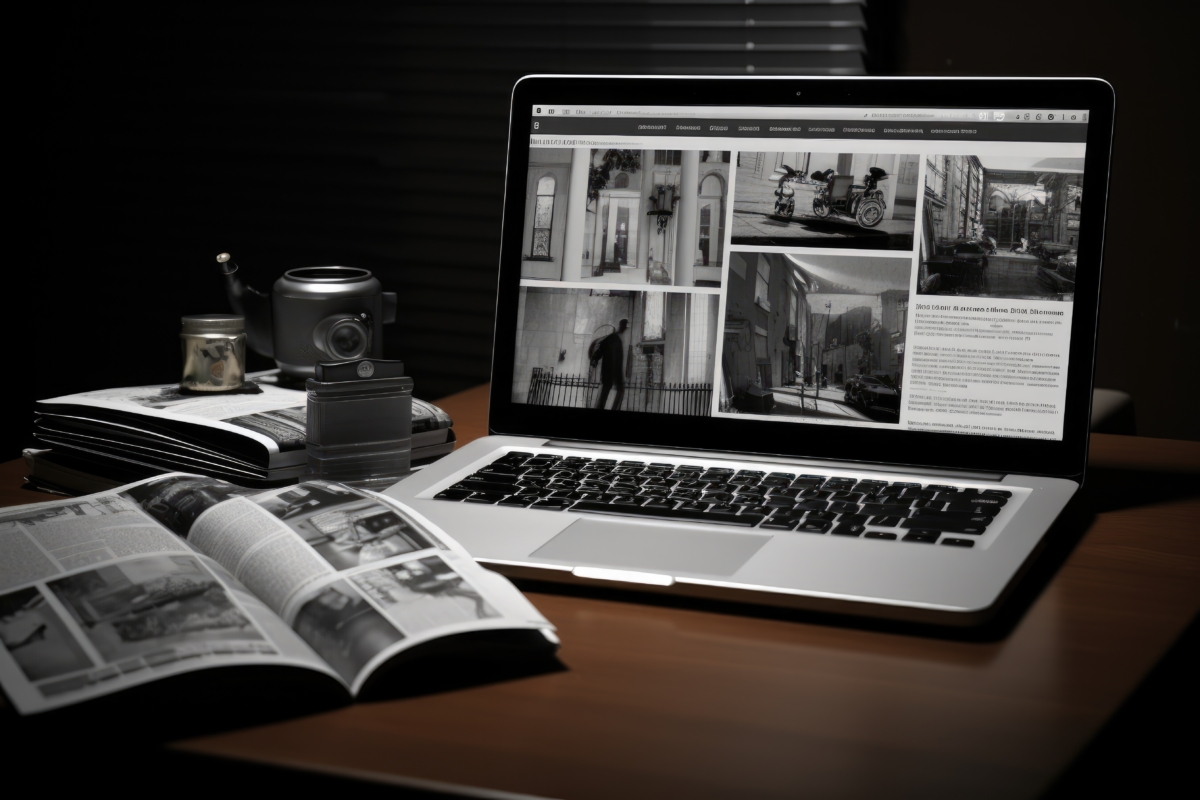
Facebook (like other social media platforms) is a great way to have interactions with your clients and customers. Creating a Facebook page is easy to do, and doesn’t take much time at all! Let’s dive right in.
This tutorial will assume that you already have a personal Facebook account. Go to the right corner of your screen and click the downward facing triangle near the Quick Help button to access the drop-down menu.

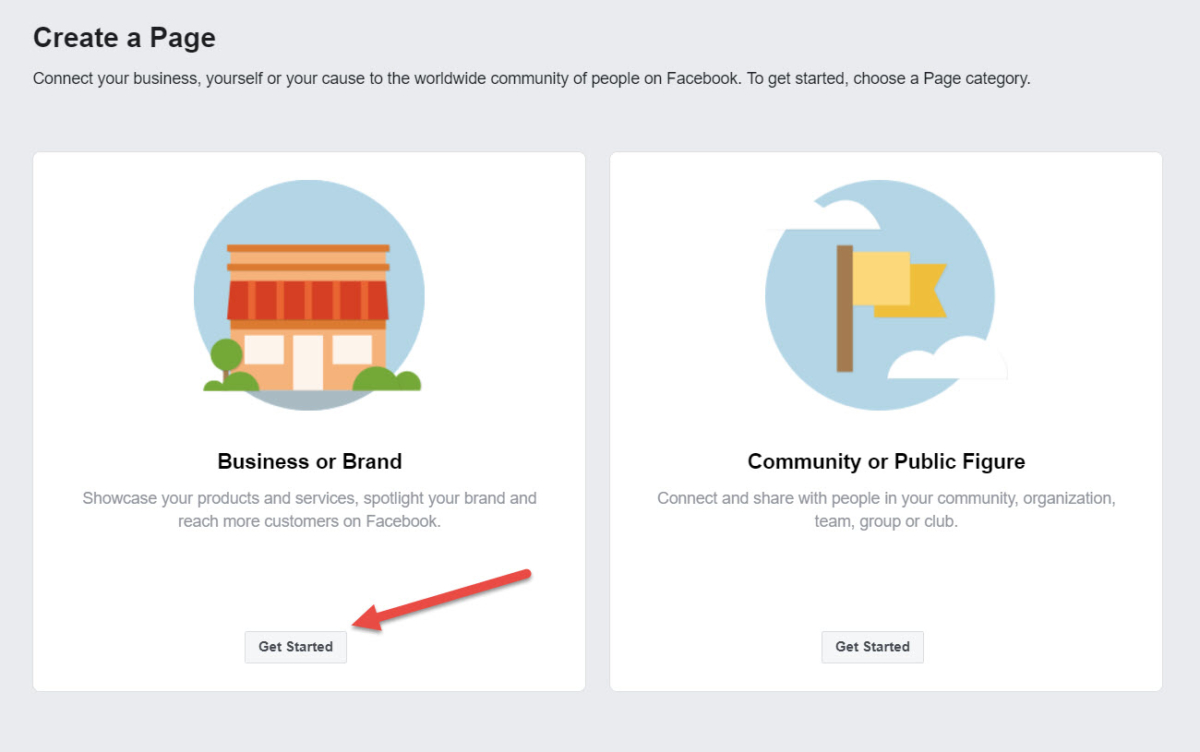
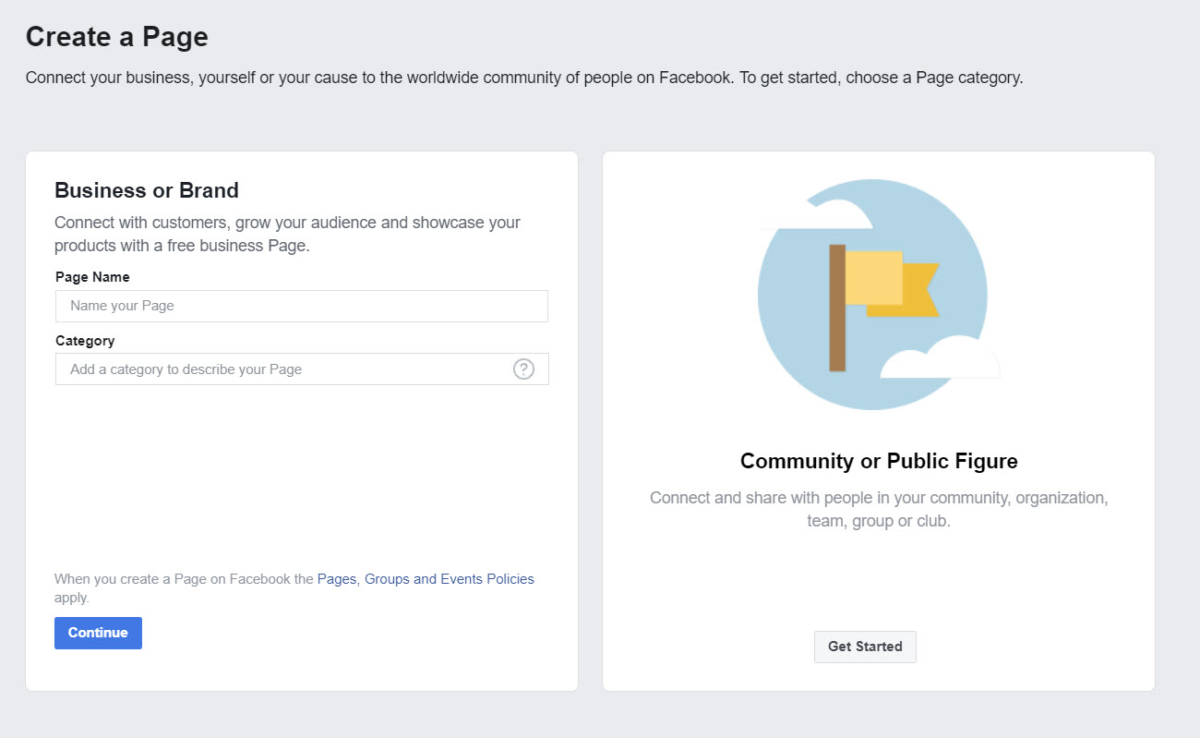
Click on the Create Page button to continue. From there, you will be able to choose what kind of page you would like to create. There are two options, the left side will say “Business or Brand”, and the right side will say “Community or Public Figure”. You will want to choose the option on the left.
Once you have clicked the “Get Started” button, you will type in your page name and category. The page name should reflect your business name, and the category should best represent your business as well. When you are typing in the category field, you will notice that other suggestions will show up. It’s best to use one of the categories that are being suggested, as they are already used by other businesses and can be searched easier. Also, you will notice above the continue button that there will be a link to the policies page. You might want to consider reading it before continuing the process.
Now your page has been created! Don’t worry, it hasn’t been published just yet. Now, the page just needs content. Pictures are a great way to bring it alive. We’ll start with a profile picture and cover photo. The profile picture should best represent your business, such as a logo, or maybe a mascot if you have one. The cover image should also reflect your business, such as a picture of your business building, or a product that you sell.
The profile picture will display at 170 x 170 px (pixels) on desktop computers, so make sure it is at least that size. Keep in mind that the page’s profile picture will get cropped to a circular shape when it is in ads and posts, but it will retain the square shape when people visit the page. Your cover photo will display at 820 x 312 px on a desktop computer so you are going to want to have your photo close to that size.
To add a profile picture, simply hover your mouse pointer over the camera icon and click on an option. You probably will need to upload the photo, so select that option. The cover photo is just as easy. Just hover the mouse pointer over where the cover photo is going to be, and there will be a change cover button on the top left. From there you can upload your photo, or a video if you’d like.
Now, take a look at your page and allow yourself to get familiar with the features. Facebook will give you quick prompts in which to show you where everything is. You have a skeleton page for your business, but don’t publish it just yet! We still have some more work to do.
Next, we’ll want to add a description of your business. This will help the customers better understand what your business offers. Don’t go too crazy on this, 1-2 sentences are all you need. Keep it short and to-the-point.
A username will help your customers find your business easier. This should also be something short, simple, and descriptive. This will add a “vanity URL’ to your facebook page name. Acronyms might work well too. For example, our Facebook page can be reached quickly by typing in @360WD in the search. The @ sign in a username will be familiar if you use Twitter.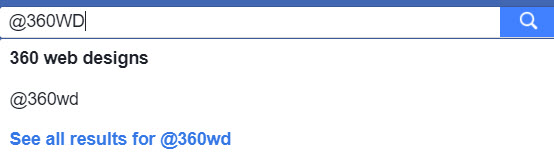
This is important, so don’t save this for later! You want to fill out all of your Facebook Page’s About section immediately, as this is most likely the first place a customer will go to get information about your business. You’ll want to have your business hours, contact information, price ranges, and other important details available to customers. If you are using Facebook Messenger as a customer service tool, you might also want to have the dedicated times that your business can respond to messages.
If you want to have a more detailed description of your business, click “Edit Story”, on the right side of the page. There, you can add more information about your business.
You can also click “Edit Page Info” or “See All” on the About Section to add your business location, contact numbers, and all sorts of other things.
Hopefully, this should help to get you started. Make sure to fill out as much information about your business as you can so that customers can reach you. Next time, I will talk about ways to engage with your audience, connecting to other social media, and other tactics you can employ to generate buzz. Know that you’re not alone in the process and that 360 Web Designs is here to help!