Fill out our form, and we'll connect with you within 1 to 2 business days.
Phone: (925) 989-7737

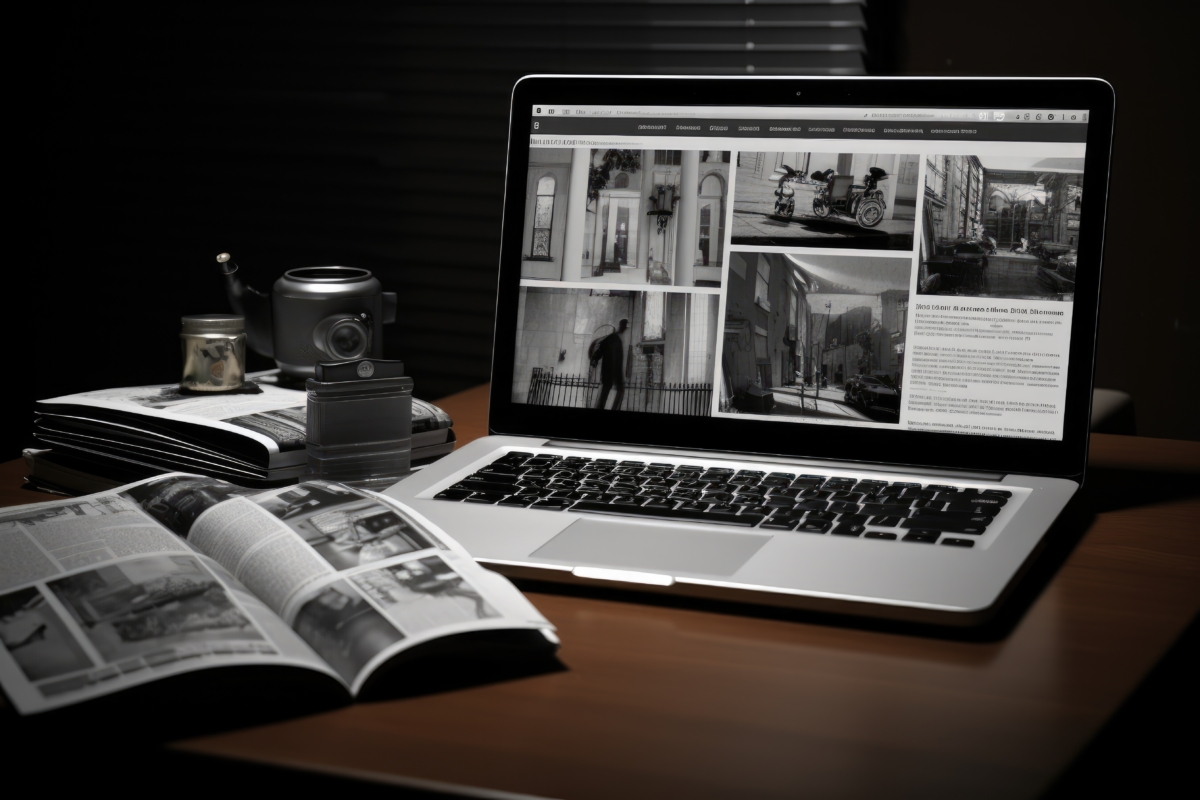
Images are important to having a great looking website, but they can take a long time to load. Especially with the advent of smartphones, pictures need to be optimized and compressed so that loading times are fast. Let’s go over some ways you can optimize your pictures before they go on your website.
The two most used file formats for images on the web are JPEG and PNG. JPEG is widely used for images, while PNG files are usually reserved for icons or lossless image files. When saving a picture, it’s always best to keep an original copy with full resolution. This will serve as a backup in case you need to resize or alter. NEVER resize an image to a larger size! Trying to “blow up” your image to a larger size than its current resolution will create pixelation.
Resizing in Windows 10 is a breeze. First, double-click on the photo you wish to resize. Once it’s open, you will see three dots on the right corner of the window. Click that and you will see a drop-down menu, where there will be an option to resize your photo. You will probably have three options, small, medium, and large. Resizing to L for large is usually recommended, as it maintains 4 MP (megapixels). ALWAYS save your image as a different file name, preferably with the new dimension size.
You can also resize pictures in Microsoft Paint. Just drag and drop your image into Paint, and you will see an option to resize near the select tool. Resize by pixel size, but take care to not warp your image. Microsoft Paint is also great for cropping images when trying to create a banner image, or cutting out unwanted space. Properly cropping and resizing images for your website will reduce loading times.
Now that you have your new image saved, let’s check the new file size. There are a couple of ways you can do this. Double-click a photo and click the three dots on the corner of the window to view file info. Do the same thing with your original image file and see how much you saved! You don’t want to have an image much bigger than 200-300 KB, especially on the home page. You can have images that are a little larger in your photo gallery, but try not to exceed much more than 500 KB. You can also check your image information by right-clicking on the image file, clicking properties, and the details tab.
Next time we will go over how to add images to WordPress. We will also cover other compression and resizing tools that you can implement for your website. There is still a lot to cover, and 360 Web Designs is here to help! For clients on our monthly maintenance program, we can add and optimize your photos for you, as well as any other changes in text you may need for your site.