Valentine’s Day is coming! Have you given your website some love lately? This week, 360 Web Designs will teach you how to create fresh new content for your website with ease. Your relationship with your website will be a match made in heaven!
Free Photos/Original Photos
First, let’s start with photos. Keep in mind that when adding photos to your website, they should be royalty-free. There are many websites you can use to get free photos to use for your website. Pixabay and Pexels are great to use. Before using a photo, always check the licensing. Go to the FAQs section of the page to see how images can be used. Check terms of service, policies, and anything else you might need to know before using photos from a website. You also might need to sign up with an account to download photos.
You can of course, always use original photos. Using them is great, if not preferred. We know not everybody is willing to spend a couple thousand on Photoshop and a nice camera. If you have the time though, it is the best way to create content and make your page look as unique as possible.
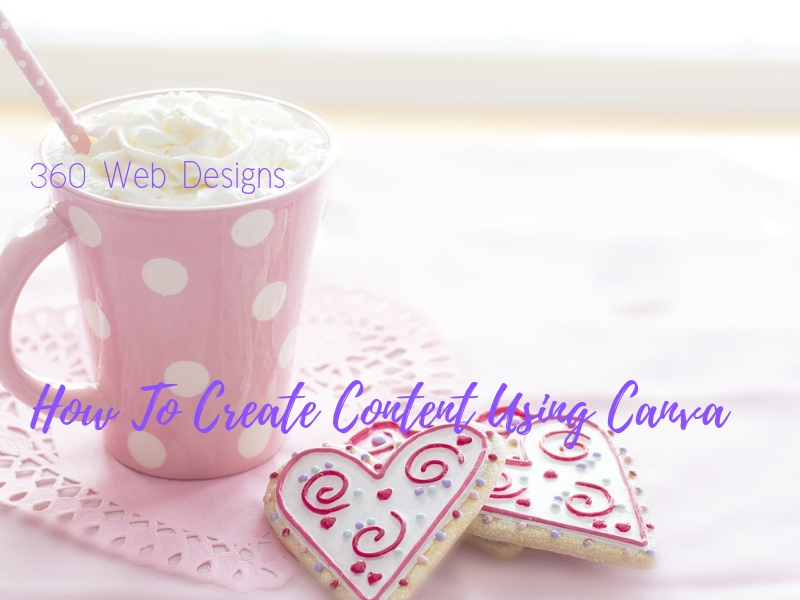
How to Create Content Using Canva
Creating content for your website using Canva is ridiculously easy! Once you have a photo chosen, you can sign up for a Canva account for free. Let’s go through how I made the featured image for my blog post. Once you have your account squared away, you can begin.
- What Kind of Content? – Canva can help you create all sorts of content based on what you need. You can create social media post pictures, documents, cards, ads, invitations, and more! You can even search for what you would like to create, and a template will be created for you to start with! In the top right of the main page in the “What would you like to design?” section, you also create a design with custom dimensions.
- Uploading Your Photo – Uploading is super easy! Just drag and click your image anywhere under the “Search Templates” area, and it will automatically upload your photo! Then just click on the image to add it into the post. Clicking on the image will allow you to edit in numerous ways.

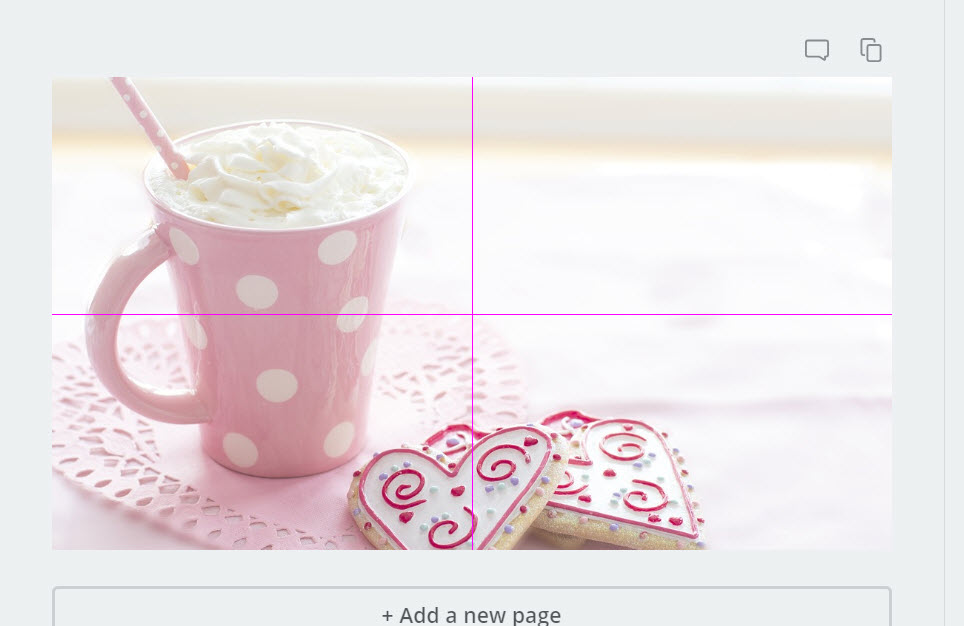
- Changing the Size and Aligning Photo – To change your image size, you can grab one of the white corner circles to expand or make the image smaller. You can then drag the image until it is centered. You will see a horizontal line when it is horizontally centered, and a vertical line when it is vertically centered. Usually, you will want to see this.
- Adding Text to Your Photo – Adding text is also very simple, just click the “Text” icon to add text to the page. You can add a heading, subheading, and body of text. All of them can be different fonts if you’d like. There are also text templates as well, with the font for heading, subheading, and body already picked. Just scroll down to see more templates, or you can choose your own font out of hundreds of free fonts. After centering, you can change the size or font of each heading or subheading however you wish.

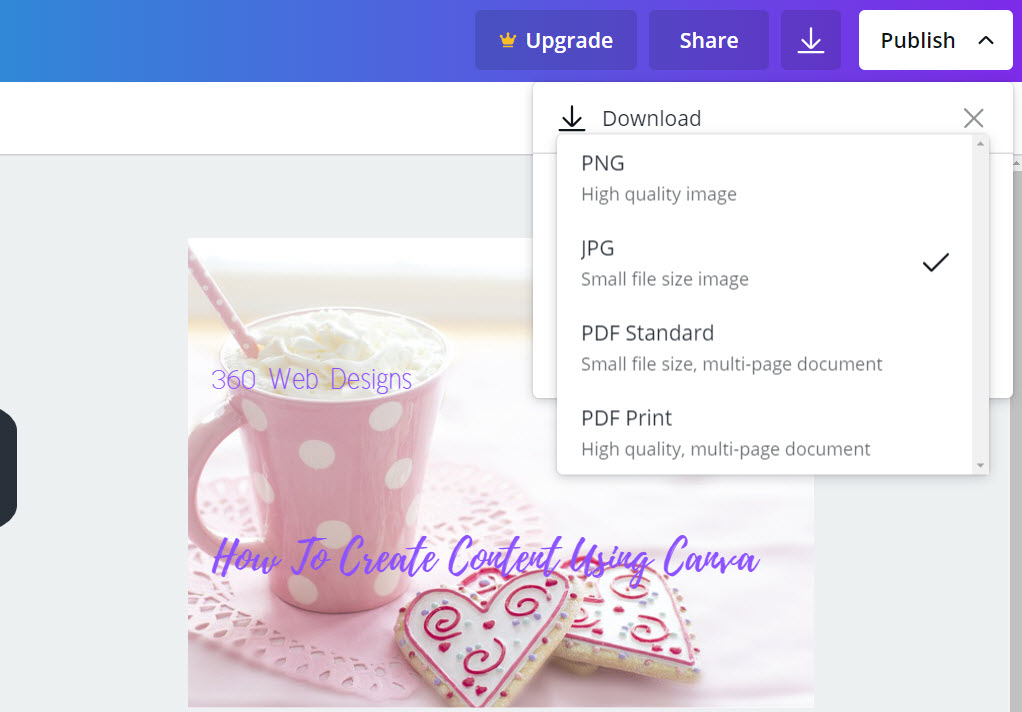
- Save and Download – Now that I have selected the font and color for my image, I can go ahead and save it. Just click the publish button on the top right of the screen, download, and select the file type. I usually use jpg, which is a smaller file size and works best with most websites. If you are creating a brochure, program, or poster, PDF files might work best. PNG files are best for logos.
You’re Done! Easy Right?
Just download and add to the appropriate page for your site! You can create all sorts of things on Canva. It’s highly intuitive and easy to use, anyone can use it! Just browse “Create a design” to see all sorts of different templates you can use. Having an account allows to save all of your designs, so if you ever need to update the design or redownload, just sign in and go to “All your designs”. That’s it for this week. 360 Web Designs wishes you a Happy Valentine’s Day! Have fun using Canva!